Without a doubt, the GoPro is the most popular underwater camera among divers of all time – compared to it’s competitors, it is unbeatable in terms of quality, user-interface and reliability.
The very first GoPro Hero model (1) was released all the way back in 2004 – ever since GoPro have been committed towards improving upon this camera with ever more sophisticated models.
The latest version – the Hero 11 is the best GoPro yet; with superb 5.3k 60fps video and a massive 27MP sensor as well as adjustable white balance and custom presets to help with underwater colour correction.
In this Diving Squad Report, we’ll look at the GoPro Hero 11’s functionality as an underwater camera for diver’s.
Want to know how the Hero 11 is better than the Hero 10, how suitable it is for underwater and whether there are any shortcomings? This guide is the answer!
PROS:
- Extremely high quality video (up to 5.7 60fps)
- Incredibly detailed photos (27mp)
- Superb video stabilisation
- Adjustable white balance
- Horizon lock, custom presets & many other settings
- Awesome value for money
CONS:
- White balance must be manually adjusted
- No dedicated “dive mode” as with some other underwater cameras (e.g. Sealife Micro 3.0).
Features:
FEATURES:
1) Video (up to 5.3K 60fps):
The GoPro Hero 11 has some truly formidable video specs. It is currently the only underwater camera that can shoot in 5.3K (60fps)! By comparison, most other underwater cameras on the 2024 market shoot in 4K 60fps or 4K 30fps.
5.3K actually provides as much as 91% more resolution than 4K resulting in crisp detail and almost cinematic video quality. There’s also the option for shooting 4K at 120fps and 2.7K at 240fps for slowmo and ultra slowmo clips!
Compared to the Hero 10 which records video at 8 bits, the Hero 11 does so at 10 bits which allows for more colour gradients – this is especially useful to scuba divers as colour can get lost underwater!
The digital lens has a bunch of features that are extra useful for divers – especially “Horizon Lock” which keeps the horizon in place – even if you rotate the camera 360 degrees. It’s like having the camera attached to a gimbal where the picture always stays the right way up, no matter what! I’ve found this especially useful when using the Hero 11 in strong currents!
The Hero 11 is also embedded with GoPro’s latest stabilization tech: “Hypersmooth 5.0” which does a truly impressive job of reducing shakiness. Although most underwater cam’s feature stabilizaiton tech, in the case of the GoPro Hero 11’s it really strong – generally being far superior to that of it’s competitors!
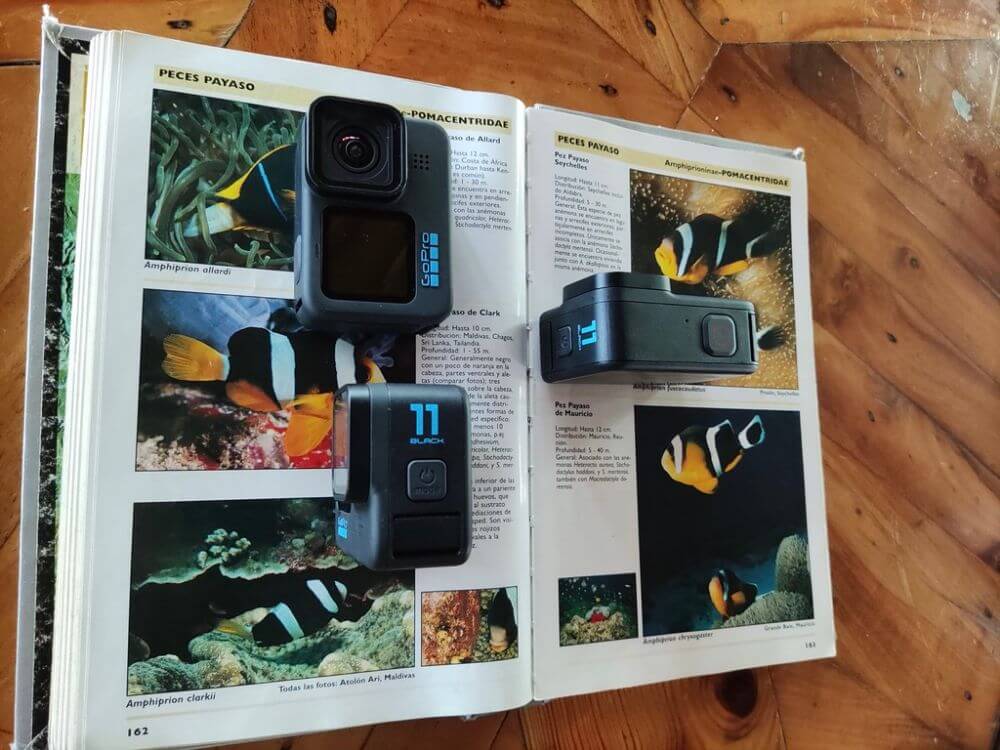
2) Photos (27 megapixels):
Another really impressive thing about the GoPro Hero 11 is it’s 27 (!) megapixel camera – hot dayum! Ok, so again most cheap – mid-price underwater cameras on the market feature sensors that have anywhere from 12 – 20mp. Even the more expensive options rarely have more than 24 megapixels.
It’s simply quite mind-boggling that the Hero 11 – which by underwater camera standards, sits on the lower end of the mid-price spectrum has such a powerful, 27 mp image sensor!
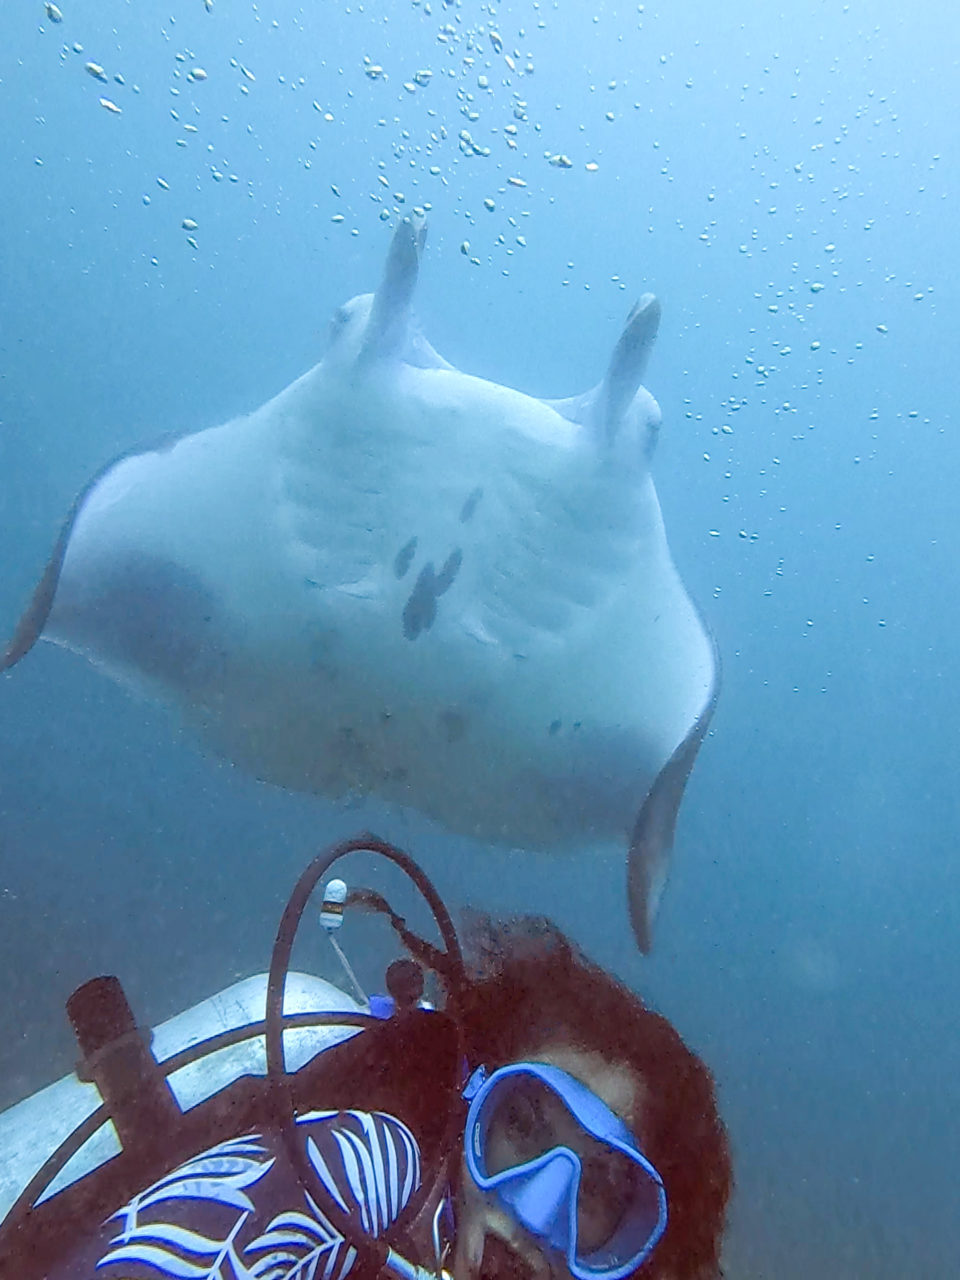
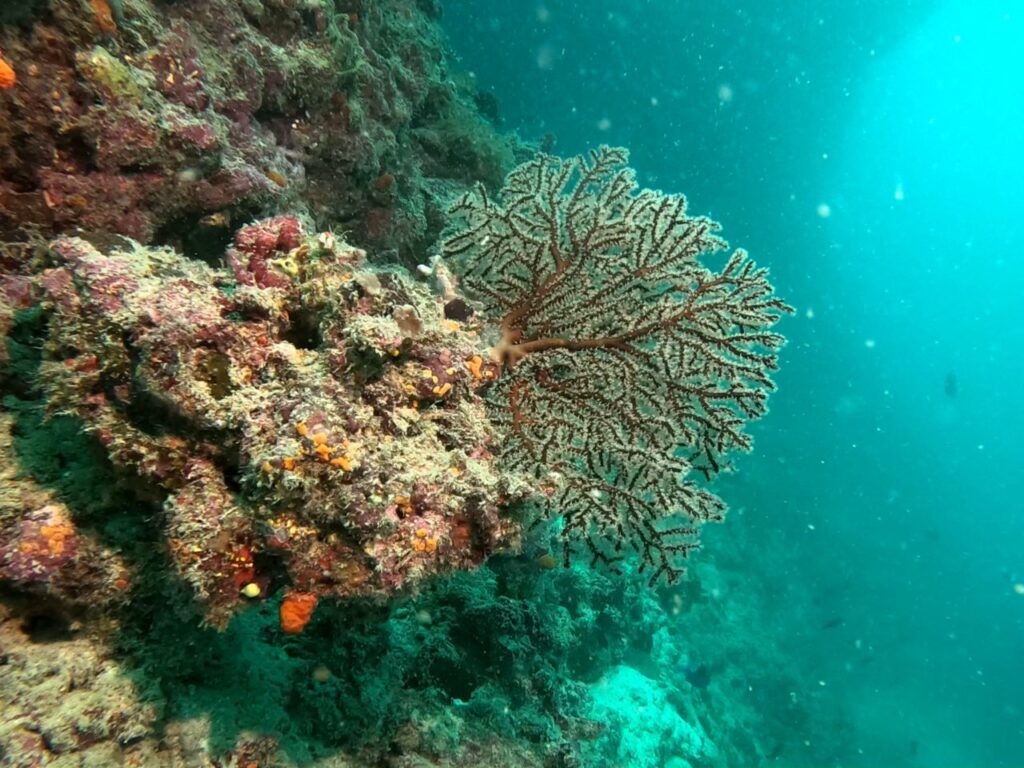
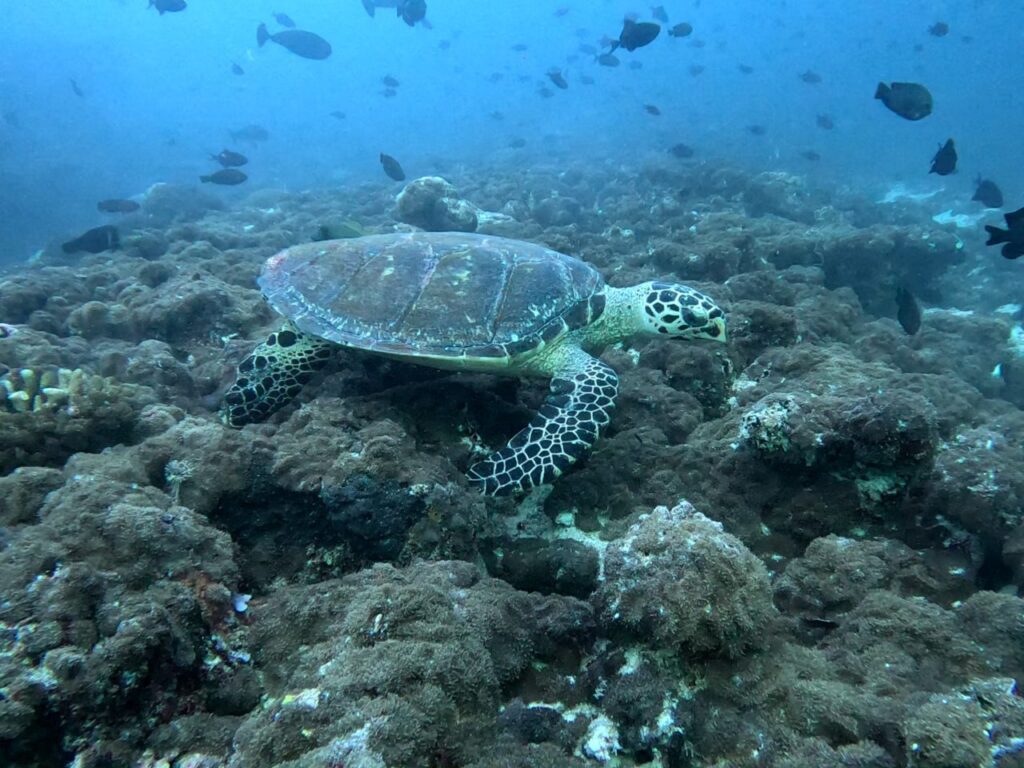
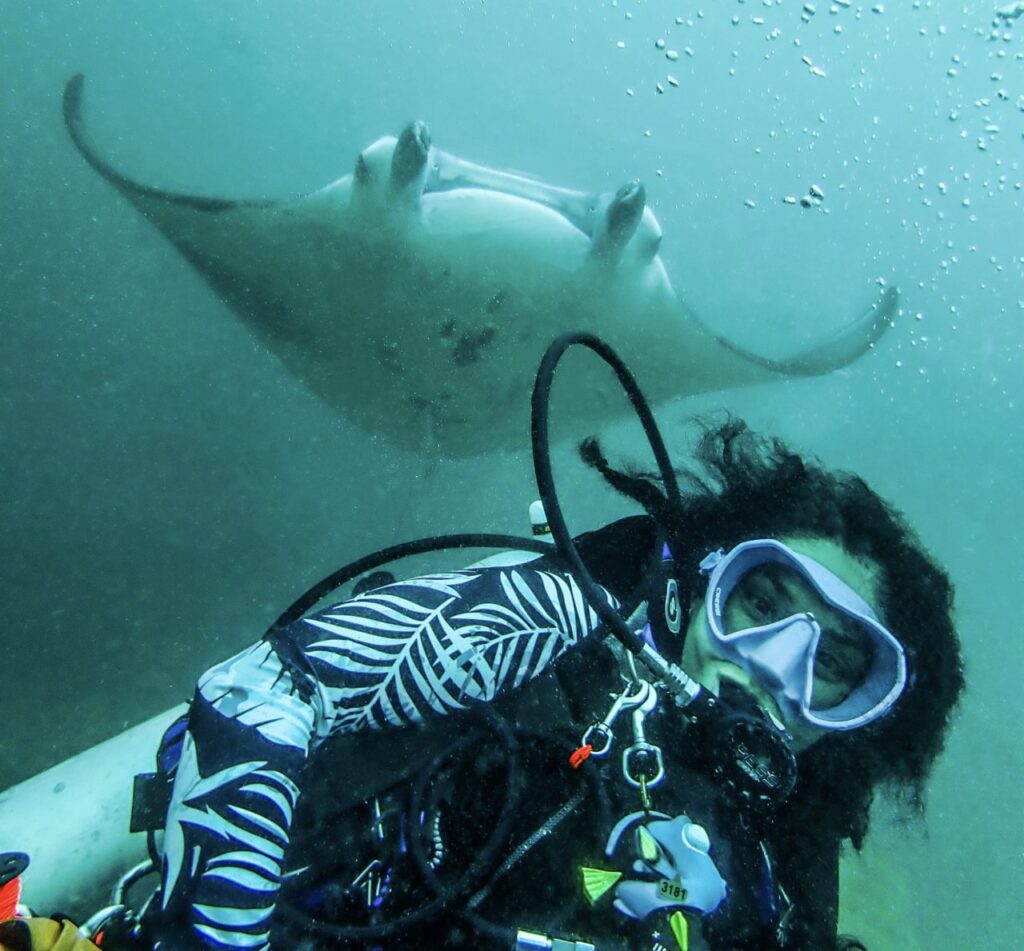
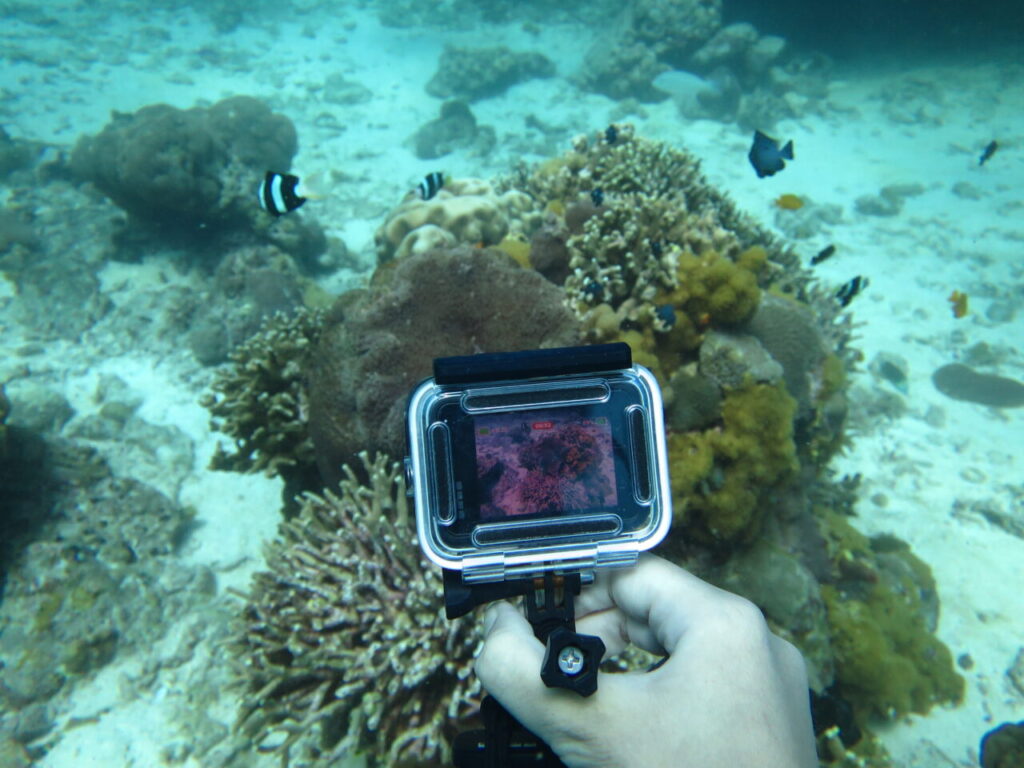
What I will say, is that in terms of photographing big marine life and wide shots (e.g. reefs and wrecks) the GoPro Hero 11 is quite capable without any extra equipment. However, if you want to do macro photography, you’ll need a macro lens or snap pictures at depths greater than fifteen meters (45 ft) you might want to consider using some underwater lighting.
That said, take a look at some of the pictures I’ve snapped with my Hero 11 without any extra lenses or lighting:
3) User Interface & Settings:
A major appeal of action cameras such as the GoPro Hero 11; is that they’re extremely easy to use – you don’t have to be an experienced photographer to get the hang of them.
In fact, the Hero 11 has a user-interface that is so simple, you can pretty much figure out out all the controls and settings within a few minutes of playing around with it!
When using “Pro Controls” mode, you can adjust the following settings:
- Stabilization level
- Timer
- Bit Rate
- Shutter speed
- EV comp
- ISO Min / Max
- White Balance (for underwater colour correction)
- Sharpness
- Colour
- Raw audio
- Wind
- Reset Protune
There is also an “easy controls” mode which lets you choose between 3 popular setups:
- Highest Quality (5.3K / 30 / SuperView)
- Extended Battery (4K / 30 / SuperView
- Longest Battery (1080p / 30 Superview
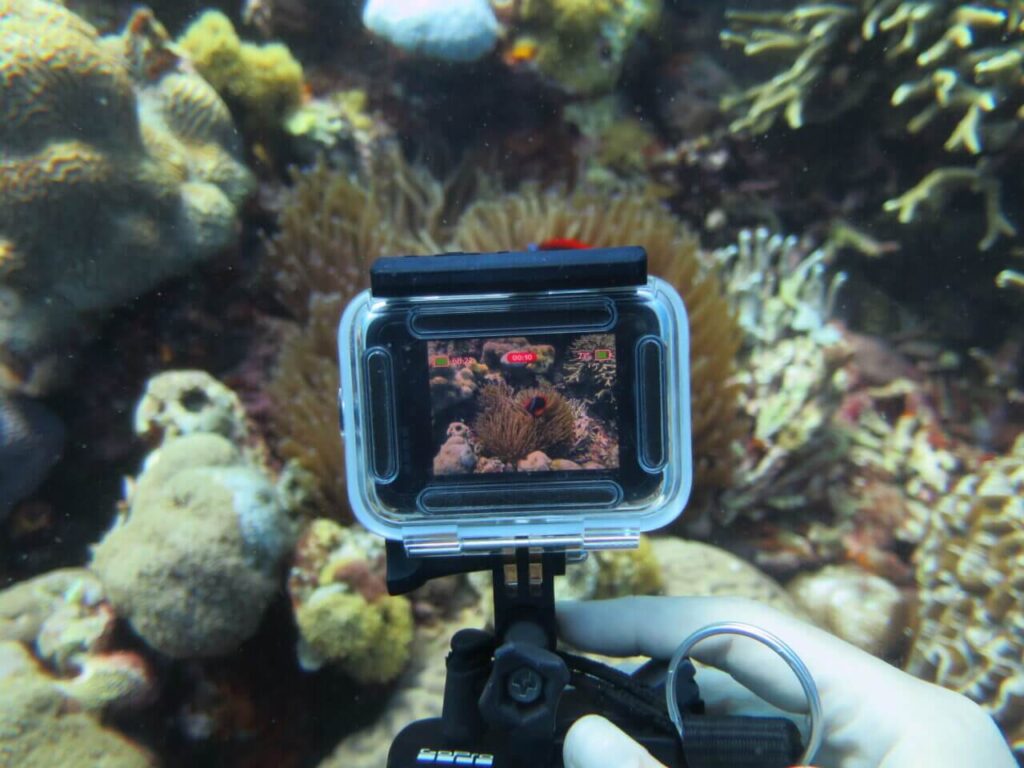
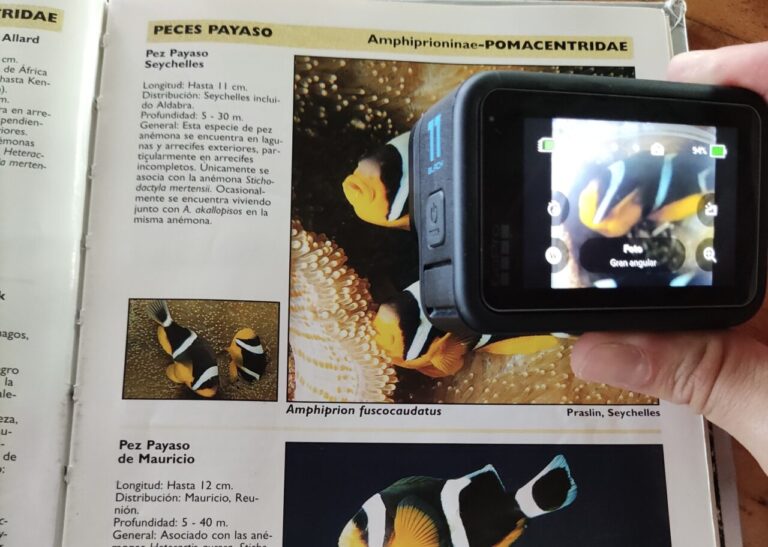
Although there is a touchscreen; this only works on land – when placed within the underwater housing, the Hero 11 is operated via two buttons – the shutter button on top and the mode button on the lefthand side.
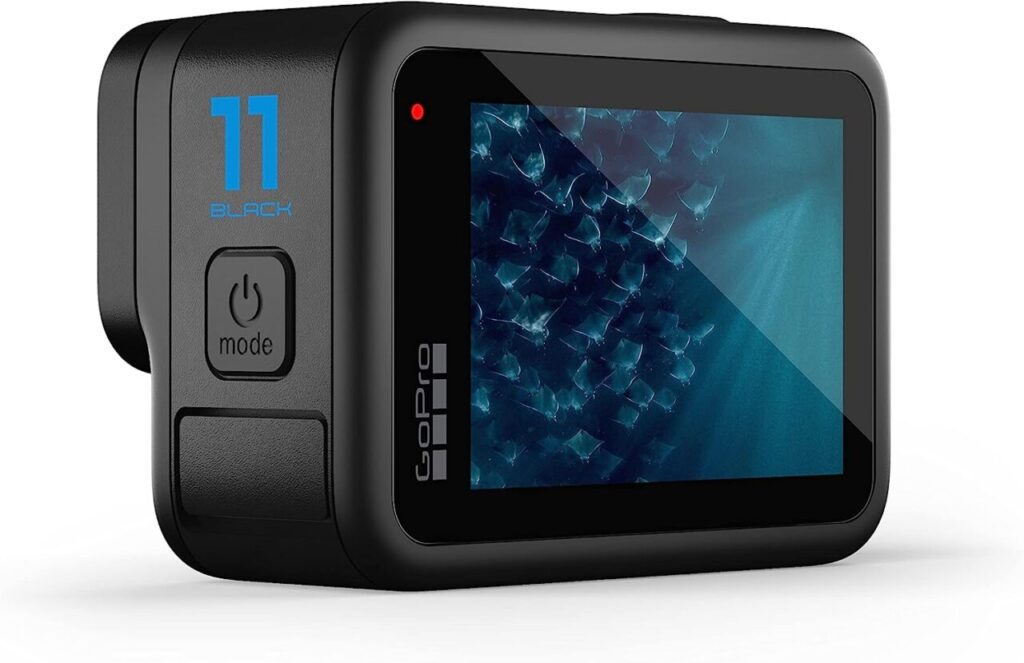
The display on the back is 2.27 inch; making it easy to see the shot you’re framing as well as the settings you are applying.
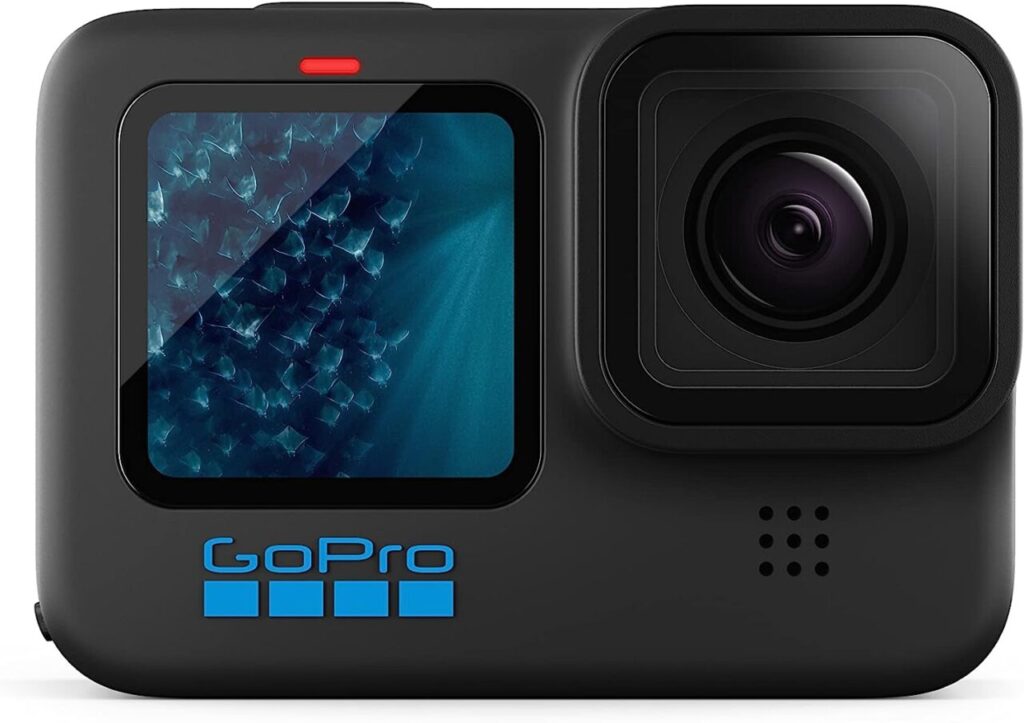
There is also a smaller 1.4 inch display on the front which is great for taking selfies!
When shooting in 16:9 aspect ratio, there are 3 different fields of view to choose from – dubbed “digital lenses” by GoPro:
- “Wide” – Similar to most other GoPro fields of view, a highly popular and versatile view for capturing action shots.
2. “Superview” – provides a wide angle shot but with more on the top and bottom.
3. “Hyperview” – a new, extremely wide angle that uses the sensors full height and squashes it down in to a 16:9 ratio to make shots insanely wide and let you get as much in the frame as possible.
You can also create custom presets with specific settings – e.g. ISO and White Balance. These are highly recommended as such settings can’t be adjusted on a dive due to requiring the touchscreen for configuration. We’ll talk about all this in the next section – coming at ya now:
4) Tips for using your GoPro Hero 9 underwater:
Unlike some dive-orientated cameras – such as the Sealife Micro 3.0 and the now sadly discontinued Paralenz Vaquita, GoPro cams are created for a range of action activities such as cycling and skiing.
They have of course also been built with underwater use in mind; indeed GoPros are the most common type of camera used by scuba divers – but to get the most out one on a dive, you will definitely need to configure the appropriate settings. Let’s take a quick look at what that means:
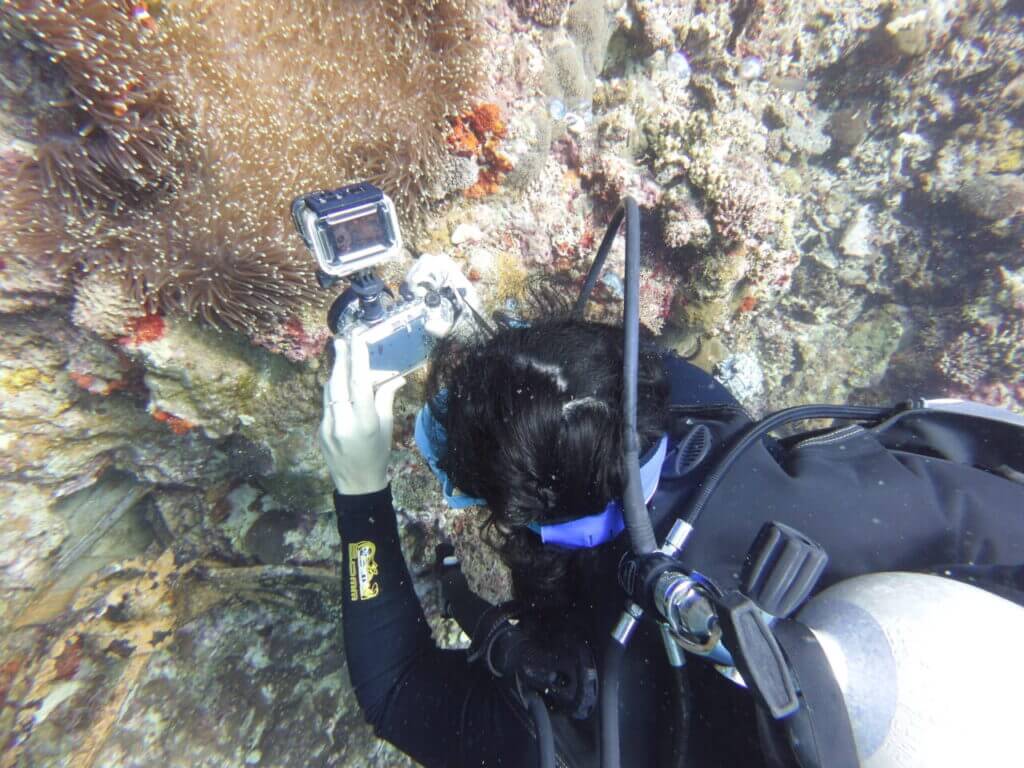
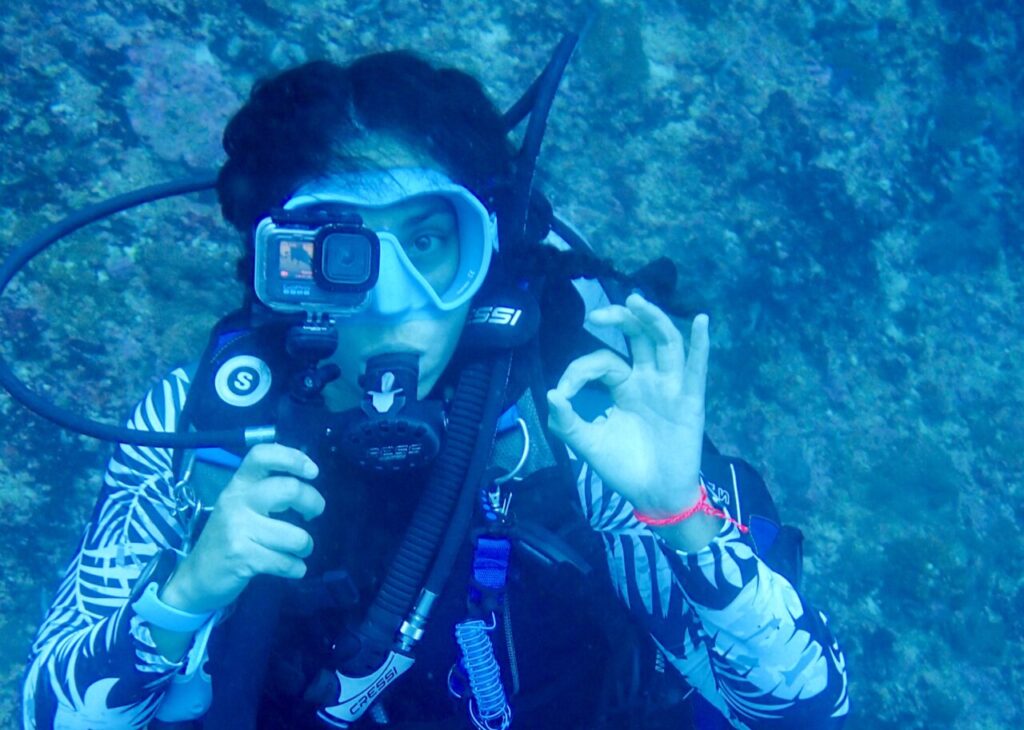
Waterproof Housing:
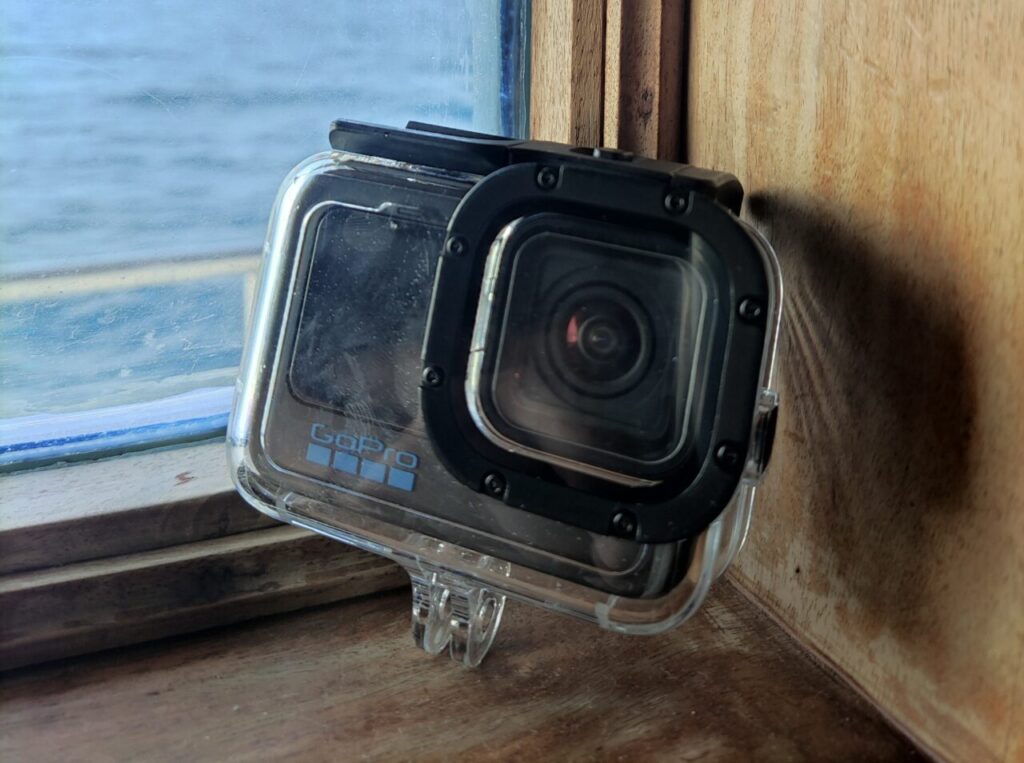
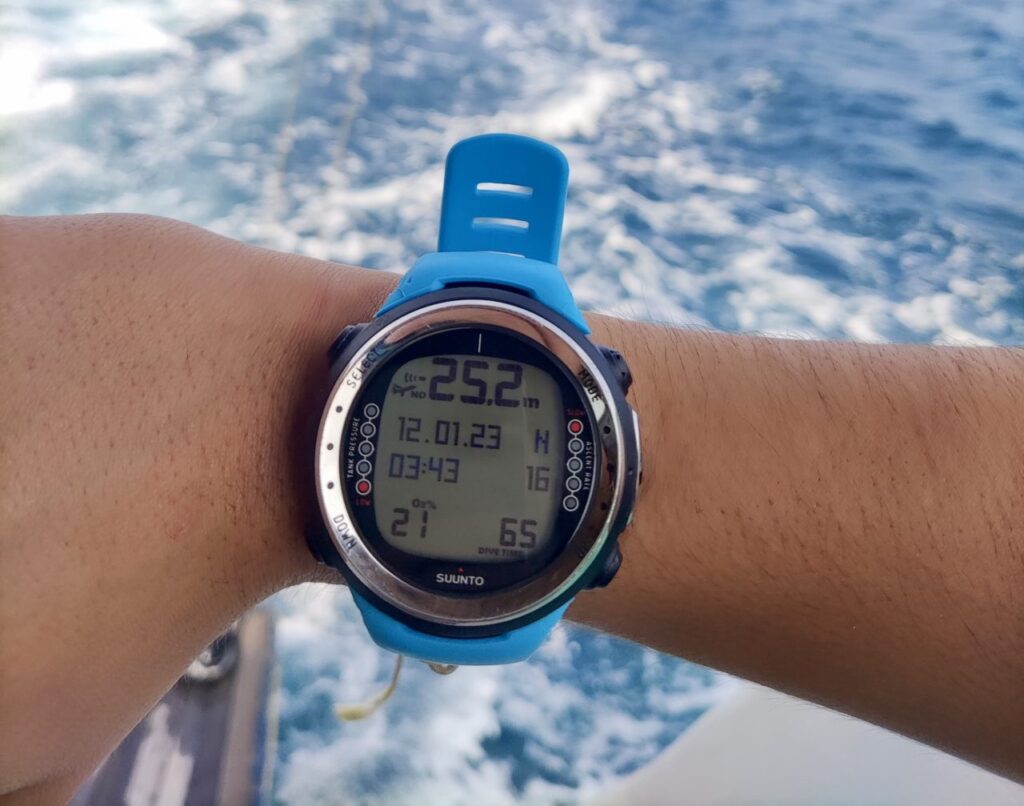
The GoPro Hero 11 is waterproof to 33 feet / 10 meters straight out of the box. This is fine for snorkelling and beginner freediving. However, for scuba diving you’ll want to purchase an underwater housing – fortunately this is pretty cheap and there’s a variety to choose from on amazon.
Sealed within waterproof housing, your Hero 11 can can be taken to 186 ft / 60 meters which is way beyond recreational scuba diving limits.
Resolution & Frame Rate:
Get the most out of what the Hero 11 has to offer! Film at 4K at least – although personally I always opt for 5.3 K at 60fps – might as well get that highest resolution possible! Yes, higher frame rates drain battery life sooner; but you’ll still get 2 dives out of 5.3 / 60fps. Also, you can only film 10 bit at 4K and 5.3K.
That said, if you want to record superslow mo – 240fps, you’ll have to drop down to 2.7K. It is possible to record slowmo (120fps) at 4K.
Stabilization:
Always keep Hypersmooth on! You can also use hypersmooth boost, which again uses a little more battery life but further smoothens video.
ISO Levels:
ISO levels affect how sensitive a camera is towards light. A lower ISO level = less sensitive to light whilst a higher one…. yep, you’ve guessed it, equals more light sensitivity! But it’s not simply a case of making the ISO level as high as possible – because if it’s too low for the conditions you’re diving in, your vids will appear dark – and if it’s too high, they’ll be grainy.
Generally, if you’re filming in shallow waters with plenty of light, the minimum ISO should be set to 200 – and the maximum no more than 1600. However, if you go deeper than say 45 feet, keep that ISO minimum to more than 200 and a maximum of around 3200.
The more you play around with this setting the better you’ll get at using it. ISO level has to be adjusted via the slider with the touchscreen, so you can’t change it on a dive. Therefore, it’s highly recommended you create several custom presets of different ISO settings (which you can switch between on a dive as they’re accessed via the buttons) in order to change ISO settings at different depths during a dive.
White Balance:
This is highly important for getting natural colour in both your videos and photos – as it adjusts colours to match the colour of the light source. When videos and photos come out too purple or green; it’s almost always due to absent or incorrect white balance.
Whereas some underwater cameras – such as the Sealife Micro 3.0 and discontinued Paralenz Vaquita feature automatic underwater colour correction, with the GoPro you have to set this manually.
And like ISO; it takes a little playing around with different white balance settings at different depths in various lighting conditions before you get a feel for the right white balance to apply to the right lighting conditions on a given dive.
Generally, the bluer the water is, the higher the levels of white balance you should apply, in order to get colour tones like red, orange and yellow. When you’re first starting out, I recommend you set your white balance between 4500 – 6000K.
Don’t use auto – because when you do, the cam will constantly correct colour by itself which can even lead to colours changing throughout a clip; a trademark sign of amateur, nooby video shooting.
Like ISO, white balance is not something you can adjust on a dive due to being adjusted with a slider on the touchscreen – so you’ll want to create a few custom presets that you can switch between.
Field of View:
This is a matter of personal preference, but I generally recommend shooting most of your videos in Wide; it creates a slightly fisheye look and is awesome for underwater videos. Superview is great for a couple of shots, but don’t overdo it as everything will seem kinda far away!
Colour profile:
Usually you should use the “flat” setting when shooting underwater because it provides greater freedom in colour grading.
5) GoPro Accessories:
I’ve already mentioned that like all Gopro models, the Hero 11 needs to be sealed within waterproof casing in order to be taken to depths greater than 30 feet / 10 meters.
But there are several other cool accessories that can be bought for it at a very lower price. Let’s take a look:
- Tray & Handle System: This is the best way to keep your GoPro still to reduce shaky footage and it’s also used to attach any additional lighting that you have. Strongly recommend. There’s a range to choose from.
- Underwater Lighting: There’s a whole array of different underwater lights that you can use with your GoPro – you’ll want to attach them via the tray and handle system! Take a look at some of the options on amazon!
- Filters: These are an excellent way of easily getting decent underwater colour correction without having to play around with white balance. An excellent choice for beginners. Check them out here.
- Macro Lens: An awesome option for using your GoPro to get some decent macro shots. As you can see from this link, it’s actually really quite cheap!
FINAL VERDICT:
The GoPro Hero 11 offers fantastic value for money with superb video quality, incredibly detailed photos and next level video-stabilisation.
This is an easy camera to use thanks to the simple user-interface and easy-setups plus the fact that there is a large display not only at the back for easily framing your shots – but also at the front which is perfect for selfies!
That said, there are plenty of adjustable settings as well as the ability to create custom presets which means that as you get more experienced with using it, you won’t feel that it’s over-simplified.
It’s worth re-stating that you do have to manually adjust white balance and ISO – there’s no dedicated underwater colour correction mode.
This is easy to do, although can’t be done during a dive: you’ll have to create custom presets for different white balance and ISO levels instead (which you can access on a dive).
(If you do want a camera which automatically adjusts white balance for you, consider the Sealife Micro 3.0 or the discontinued Paralenz Vaquita).
Initially, it may take a little trial and error until you’re comfortable knowing which presets to apply at different lighting conditions underwater: but once you’ve got some experience of this – it’s incredibly easy!
The wide range of underwater filters can be used in the meantime to make this learning-transition much easier; there’s also several other great GoPro accessories such as the tray, macro lens and underwater lighting.
Compact, durable and with awesome specs, the GoPro Hero 11 is a formidable underwater camera – GoPro cameras are actually the most frequently used camera among scuba divers. With the Hero 11 you’ll have the latest edition!