In many ways, underwater photography is similar to taking photos above water – you still have to consider composition, framing, focus and camera settings.
However, there is one major kicker. You’ll also be required to master the effect of water on light transmission.
Water is much thicker than air, therefore dramatically reducing light, colour, and contrast.
Furthermore, underwater images will have a green or blue colour cast. This is because water affects the red end of the colour spectrum before other colours.
This can be tricky to master, which is why this article summarises everything you need to know in order to capture that golden underwater image.
Read on for 11 crucial underwater photography tips and you’ll be wielding your underwater camera like a pro in no time.
CONTENT:
Tip 1: Get Comfortable in the Water and with Your Camera
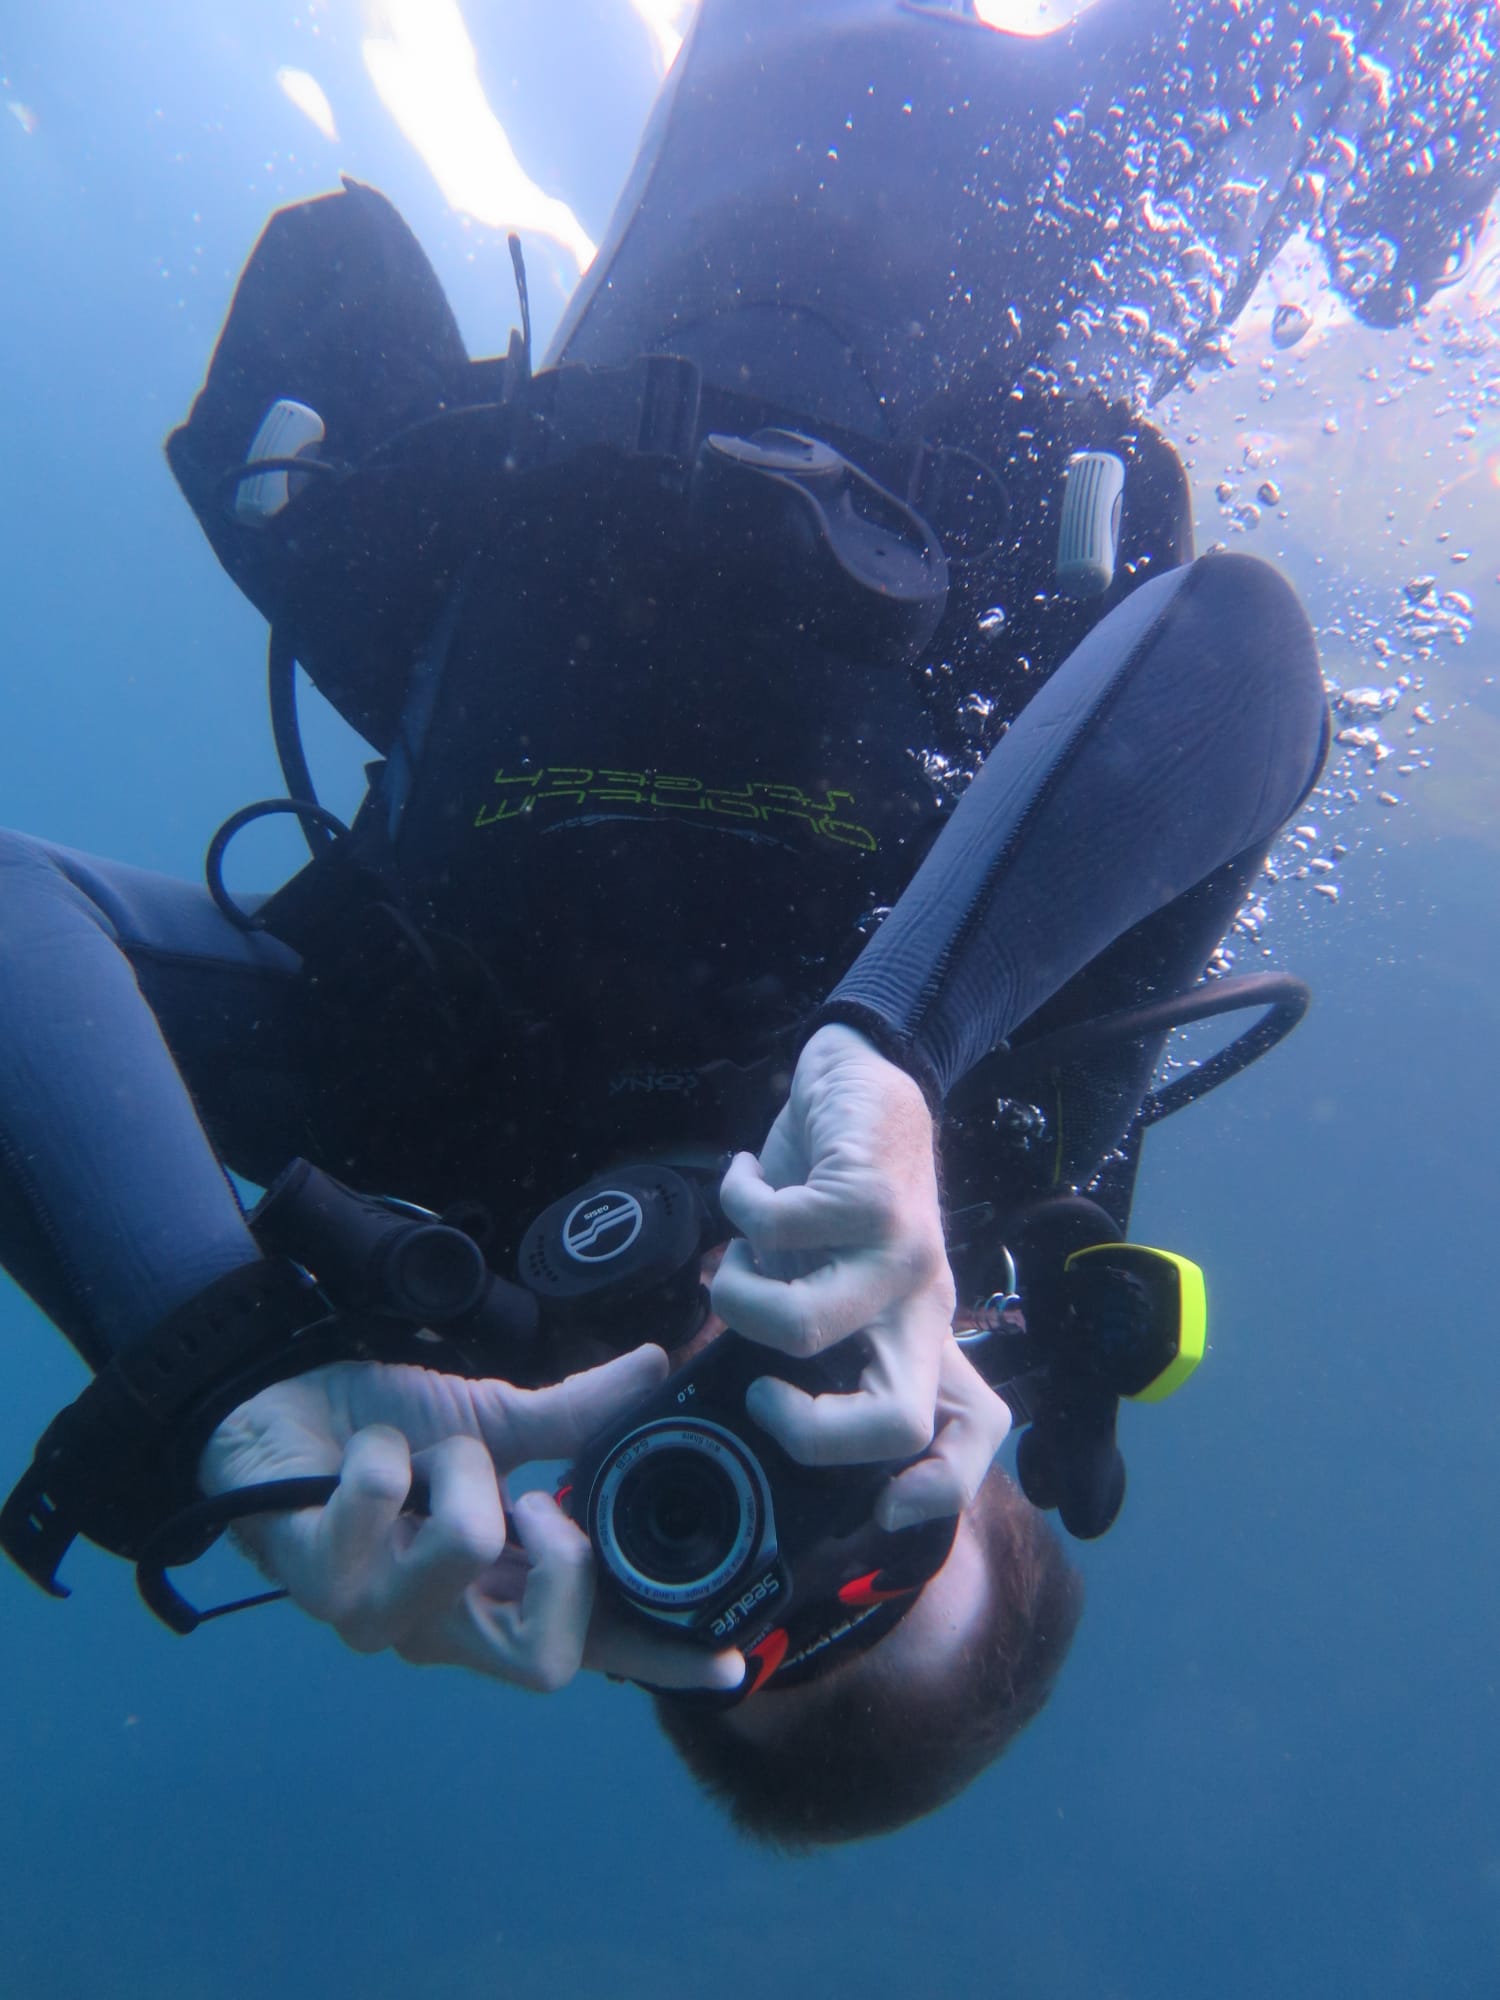
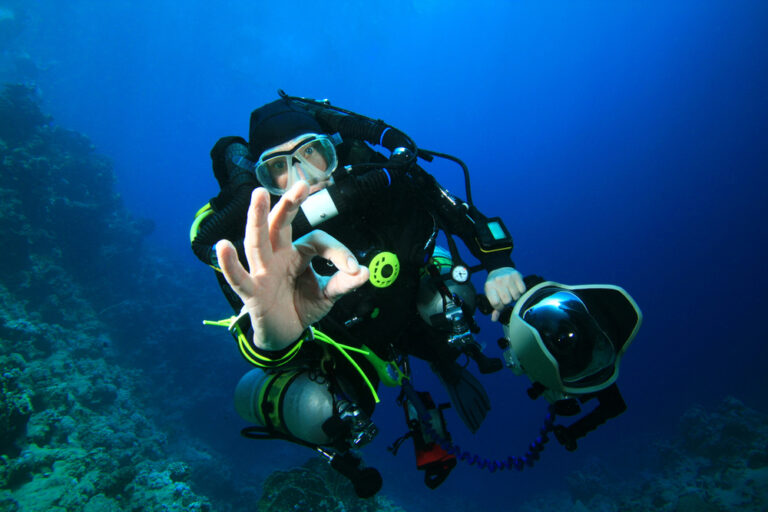
The first tip is really quite simple: get comfortable! Diving and photography are intricate and kit-heavy activities on their own, taking people months to master.
Therefore it’s advisable that, before combining diving and photography, you get to grips with each of these skills respectively.
With regards to diving, it’s a good idea until you have mastered skills such as buoyancy.
Wait until you start considering the bottom of the ocean your second home before learning how to take underwater photos. Check out the Scuba Refresher Tips for more info!
Furthermore, the more time you spend underwater, the more you will begin to see and appreciate.
Novice divers will swim right past incredibly rare and spectacular sights, while the more experienced know where and what to look for. Ultimately, the more you dive, the better your chances of spotting the next National Geographic cover.
On the other hand, photography is equally technical with lots of gear, settings and techniques to get to grips with. Shoot on land until operating your camera fells natural.
If you are able to adjust your setting on instinct, rather than having to think about what you are doing, you will be ready for underwater photography.
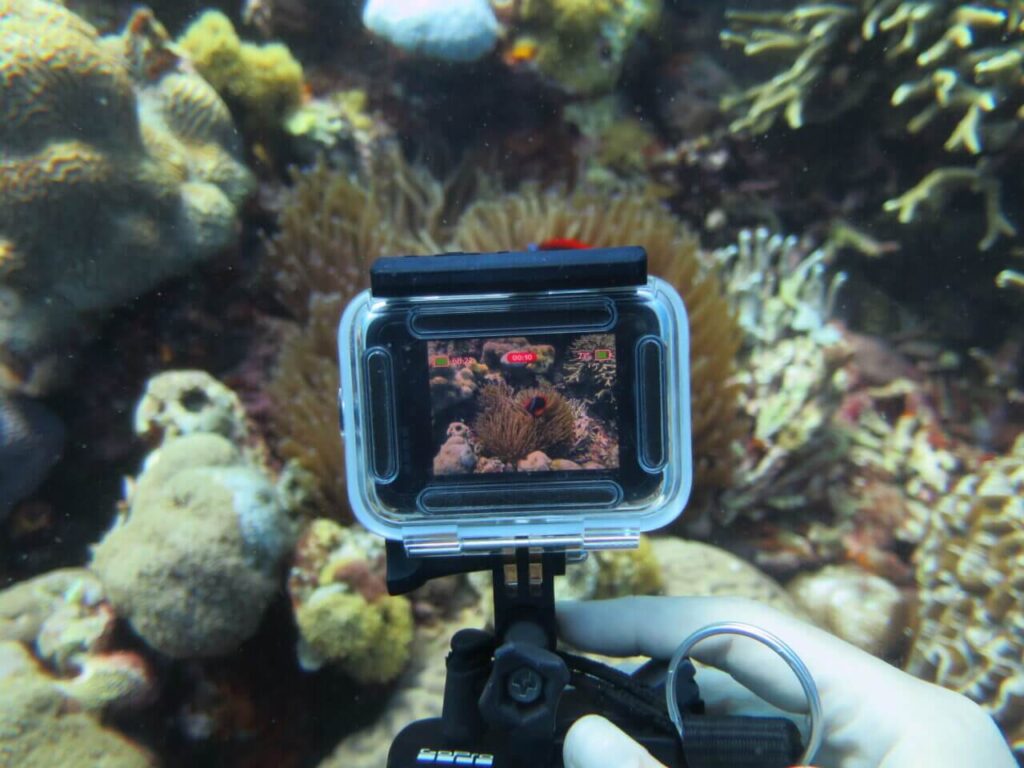
Tip 2: Consider taking underwater pictures with your iPhone or GoPro

Taking underwater pictures with an iPhone, GoPro or simple underwater digital camera are a much more affordable choice than a full blown professional dive camera.
This makes them more suited to hobbyist divers who are still learning to dive, but would like to capture their diving experiences and annual diving holidays.
While a GoPro is ideal for videography, iPhones and point-and-shoot underwater digital cameras are ideal for those predominantly interested in capturing stills.
How to protect your iPhone taking underwater pictures:
In order to use your iPhone or Android cell phone while diving, you will need a waterproof case or bag. Even today’s waterproof phones will not survive diving, because of the pressure so far beneath the surface. However, if you are just snorkelling and don’t plan on venturing below the surface, a waterproof phone will suffice.
You could simply put your phone in ziplock bag underwater, and I have heard stories of this working, but it is incredibly risky. A ziplock bag could easily tear and its seal is far from trustworthy.
I would suggest investing in a proper underwater bag or case. Although these use the same basic concept as ziplock bags, they are far more durable and reliable.
Top Tip: Turn off automatic locking, open up the camera, and dedicate a button (on the side of the phone is best) to take your picture. Using touch screen underwater can be difficult through a case or bag, and this should circumnavigate that need altogether.
Tip 3: Protect your Gear
Although most hobbyist divers prefer simpler cameras, serious photographers and videographers will not be satisfied without the control their DSLR or Mirrorless cameras provide.
They are therefore tasked with protecting these land-based cameras for underwater use far below the surface.
This is an expensive task, but if done right as explained below, carries minimum risk.
As far as our underwater photography tips go, this one can save you the most money!
Insurance
A small fee each month to save you from completely replacing your rig. Firstly, check your homeowner’s policy, as some do cover cameras. If this covers your camera for ‘flooding’, then you are good to go.
If not, you will be tasked with finding suitable cover that does cover ‘flooding’. Source multiple quotes from reputable insurance companies, and find cover that best suits your needs.
If you are unfamiliar with the world of diving insurance – you can check out this epic page on the best scuba diving insurance where we break down, compare and review the very best scuba diving insurance companies of all time so you don’t have to.
Drop Housing Pun Here:

Good quality housing
As a rule, you should never skimp on an underwater housing, as the consequence of a malfunction would be immense. Stick to well-known and well-tested brands with many positive reviews, and at all costs avoid new, cheaper options.
Hard underwater housing often cost as much as a DSLR or Mirrorless camera. And although you can find some soft cases that work well and are significantly more affordable, they are not suited to diving. This is because they start to squeeze and press random buttons under pressure, just over a meter from the surface.
Ultimately, you are going to have to fork out some major cash and purchase a hard case for your DSLR or Mirrorless camera if you plan on taking underwater photography or videography seriously.
Tip 4 : Shoot in RAW

With regards to underwater settings, firstly, you will need to be shooting in RAW.
This format captures far more data than other formats such as JPEG, therefore allowing you to recover significantly more shadows and colours.
Unfortunately, some more affordable, point-and-shoot digital cameras do not have the capabilities to shoot in RAW.
This is not the end of the world, and just means you will have less control in the post production phase.
Tip 5: White Balance
Correct white balance is crucial if you are shooting JPEGs, but less important if you are shooting RAW images.
This is because the RAW file format allows you to edit white-balance in post production.
However, even when shooting RAW, you will want to set white-balance correctly, as this makes post much easier.
I leave white-balance on AUTO and adjust any incorrect images in post. AUTO on my Sony a6500 is generally accurate, and gives me one less thing to think about.
Otherwise, if you prefer setting white-balance manually, you will usually stick to the daylight range, as it retains the ocean’s beautifully blue hues.
Setting the white-balance outside the daylight range will give you pink and orange hues, completely removing your image’s aquatic essence.
Bonus tip: use a true grey or white surface to read your white balance off. A diving slate usually does the trick.
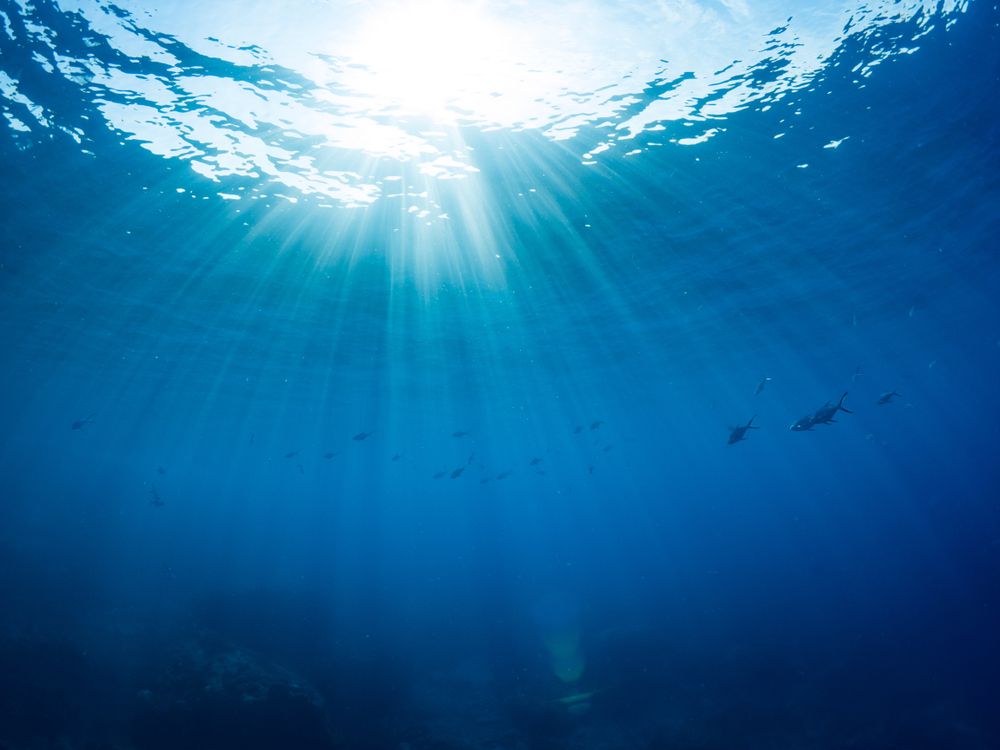
Tip 6: Be Aware How Depths Affects Your Image

Ok, as far as our underwater photography tips go, this one is absolutely crucial for the intrepid deep diver! Clarity and skin tones look the best within a few feet of the surface.
This is because the deeper you go, the more water will be between you and your light source, and therefore, the greater the water’s effect on light will be.
Ultimately, as you venture further below the surface, the green-blue colour cast will increase, and you will lose more light and contrast.
This means that the deeper you dive, the more you are going to have to adjust for the water’s effect on light and your image. Therefore, if you adjust your camera at the surface before descending, you may need to re-adjust at the ocean floor.
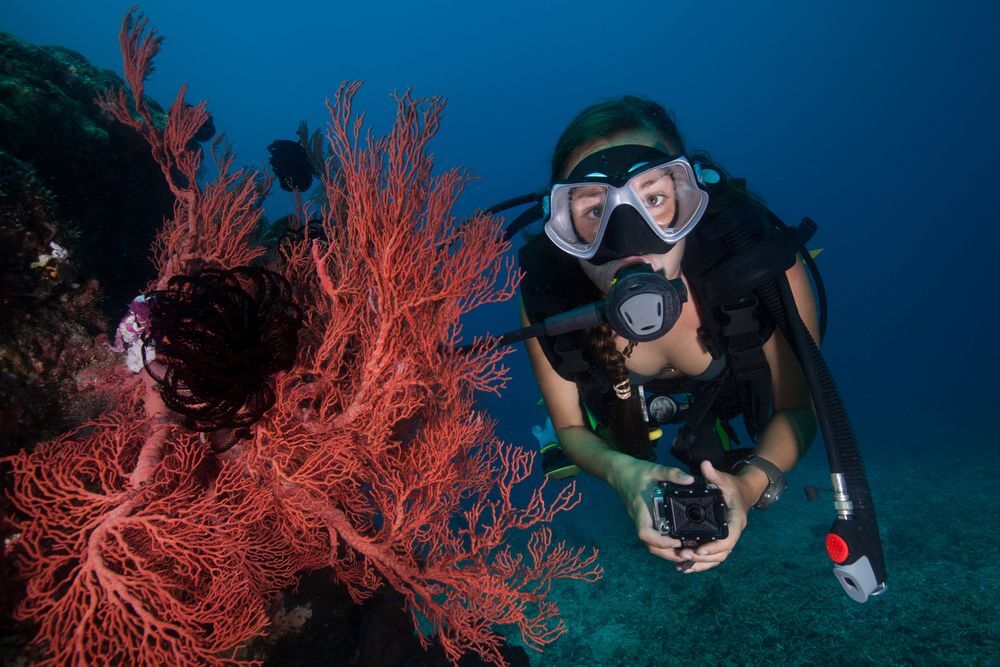
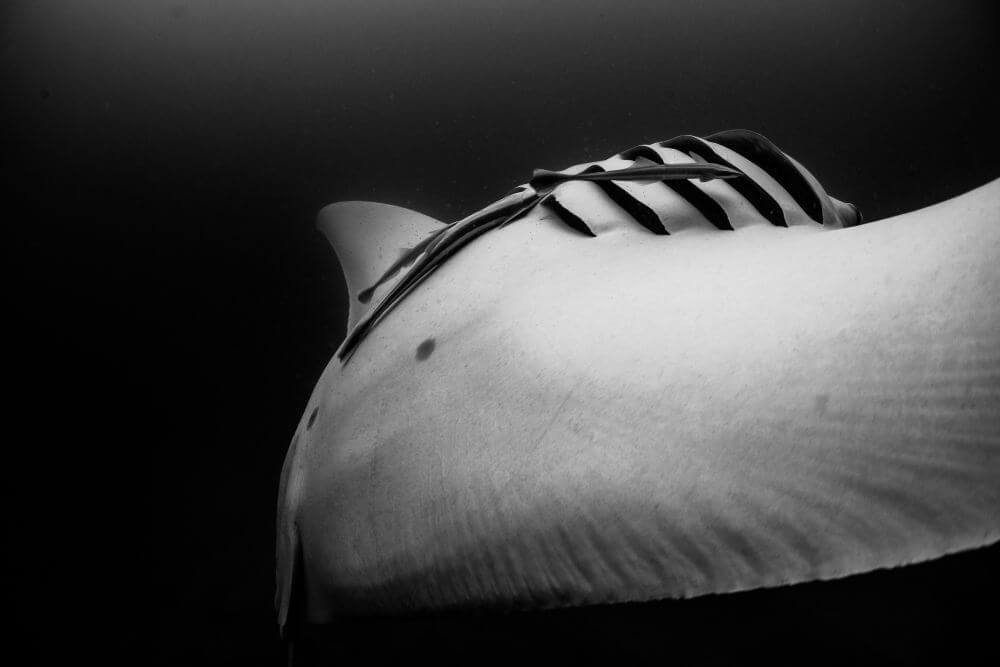
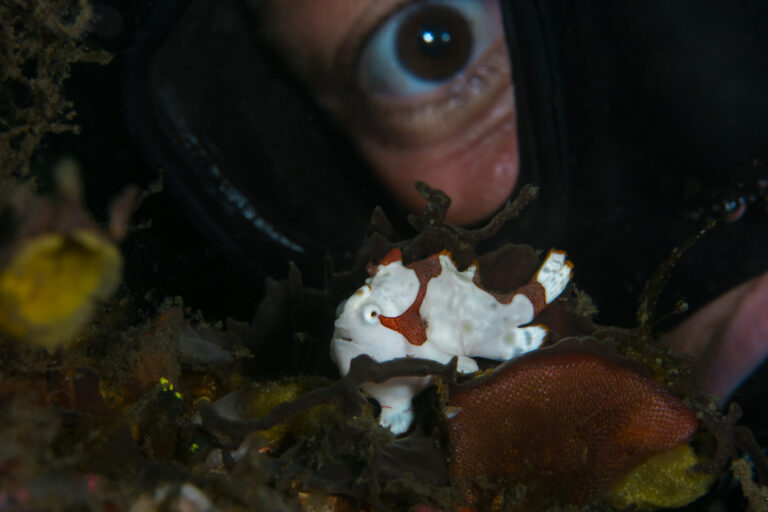
Tip 7: Get Close To Your Subject
The further you are to your subject, the more water will be between it and your lens, and the greater the water’s effect will be.
Therefore, in order to reduce blue-green cast, backscatter as well as the loss of colour and sharpness…
It is ideal, from a photography perspective to get as close to your subject as possible.
Getting close to your aquatic subject is, however, often dangerous and/or unethical.
It’s therefore important you only get close within reason and do not threaten or damage any sea life.
While getting too close to underwater critters can be dangerous, you also need to consider if your movements are damaging the reef.
Bonus tip: If you unable to get as close as you would like, a zoom function will go a long way to make up for it.
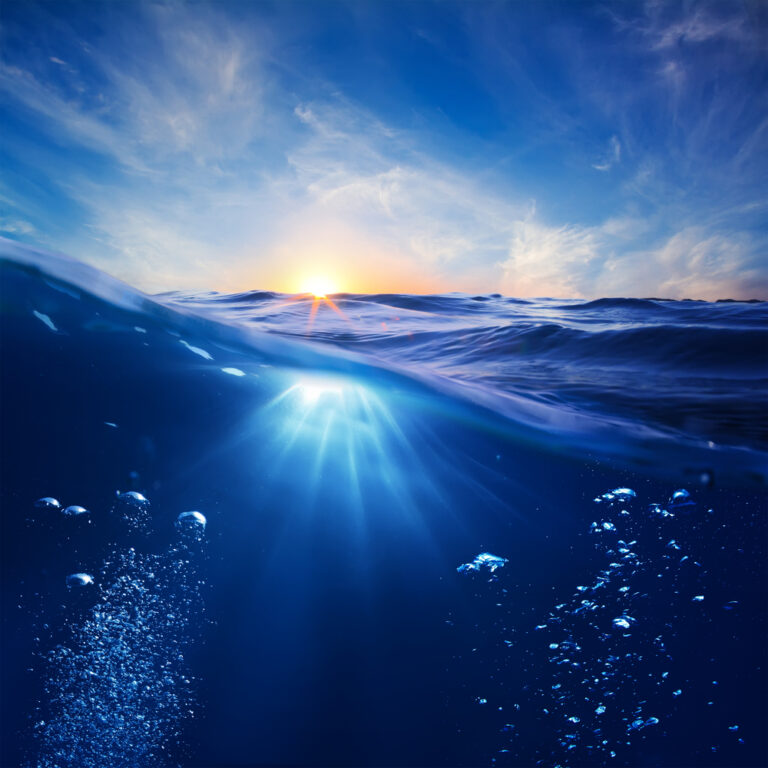
Tip 8: Pick the Right Time to Dive and Shoot
This is perhaps one of the most simple, yet most commonly forgotten rule when it comes to underwater photography. The perfect dive photography conditions are crystal clear water and loads of sunlight. In such conditions, water’s effect on light is minimised. In contrast, dirty water, thick cloud cover and fading afternoon light will maximise the water’s effect on your image.
Lighting:
The brighter your light, the deeper you can dive before your image is affected.
Underwater, we rely on the sun’s natural light, which is strongest between 8am and 12pm, making for the best conditions.
While land-based photographers prefer shooting around dusk and dawn in order to avoid the brightest time of the day, us underwater photographers want as much light as possible and therefore shoot when the sun is at its highest. This is because the water acts as a natural light filter.
Visibility and Water Conditions:
Besides bright, natural light, we also look for crystal clear water.
This is because clearer water filters less light, reduces backscatter, and provides you with the blue, aquatic hues one usually looks for with underwater photography.
Ultimately, the better the water conditions are, the weaker the effect of the water on your image.
This means you can dive deeper, and shoot from further away before light, colour or clarity is affected.
Check this page out for more info on when to choose the best time to snap underwater photos.
Getting the Best Shots in Dirty Water / When Visibility is Poor:
Unfortunately, unless you are in the tropics, clear water can be rare. This means trying to make the best out of unfavourable conditions.
If you do find yourself shooting in dirty water, make use of the best natural light between 10am and 12pm. Increased natural light will help to an extent, but cannot make up for extremely dirty water.
If the water is too dirty to shoot, even when the sun is at its brightest, you should try shooting split-level images with the water blurred. This can be done by opening your aperture and focusing on your subject above the surface.
The result is a crystal clear subject (above the water), and blurred water that acts as a colour base for your image. This way, you make the most of the water’s colour, while hiding its murkiness behind a blur.
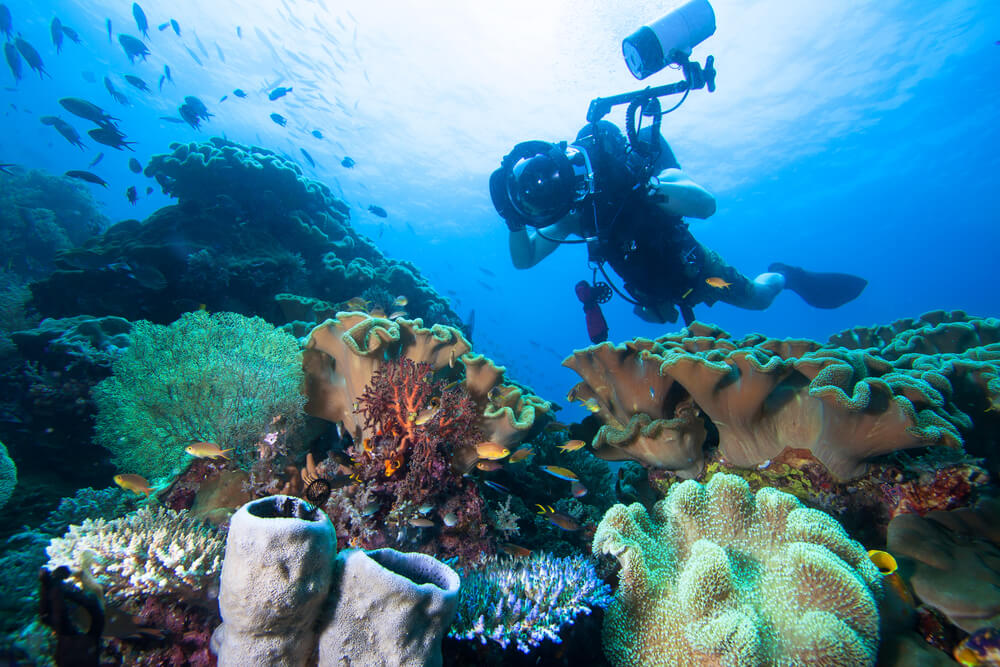
Tip 9: Consider Off-Camera Lighting:
Getting a Photo of someone else taking a photo, underwater, with the flash on, is also challenging. Enjoy this crudely drawn cartoon instead.
When we sat down in the sand to write our Underwater Photography Tips for Beginners, we really wanted to encourage marine life considerate, non douchey diving. Which is why we’ve included this tip: One of the main challenges faced by underwater photographers is the way water filters light and reduces colour and contrast.
Off-camera lighting is a way to make up for these effects, which increases the deeper you dive below the surface.
When it comes to off-camera lighting, you can either use a flash or continuous light.
Although both these options will reduce the water’s effect on light, colour and contrast, they each have their pros and cons, making them suitable in different circumstances.
While a flash produces more light, you will have to consider the distance between it and your subject, as this will determine your light quality.
Furthermore, you will also need to be aware of which underwater creatures are sensitive to sudden bursts of light, so that you can use your flash responsibly.
On the other hand, continuous lights provide a constant, but less powerful light. This is easier to use as you can see the light’s effect on the screen, and do not have to worry about bursts of light interfering with the wildlife around you.
Furthermore, continuous light is the only option for videographers, who would have very little use for the sudden bursts of light provided by flashes.
Bonus tip: Use your underwater housing’s adjustable arms to put distance between your light source and lens. As this distance grows, the backscatter caused by the artificial light will decrease.
Tip 10: Test Out Underwater Light Filters

Underwater light filters aim to neutralize the water’s effect on your image. While the ocean provides a natural blue filter, underwater light filters are red.
At the opposite end of the colour spectrum, this counteracts the water’s effect, balancing the light spectrum and resulting in a more natural picture.
The downside of underwater filters is that they result in further light loss (between 1 and 2 stops).
This will often force you to significantly reduce your shutter speed. While this is not an issue for videographers, it is less than ideal for stills.
Ultimately, this is why underwater light filters are so popular amongst underwater videographers, but avoided by most underwater photographers.
Tip 11: Editing Underwater Photographs

Editing underwater photos will be much the same as your standard post production process.
The only difference is that you will also need to compensate for the water’s effect on your image – reducing backscatter, as well as recovering contrast, light and colour.
With regards to reducing backscatter, Adobe Photoshop and Lightroom include a neat tool called Spot Healing, which I generally use.
Otherwise, if you require further assistance, look to a comprehensive underwater photo editing tutorial such as this.
Then, once you have adjusted for the effect of water, edit as you usually would. Don’t limit yourself to merely correcting the image, and experiment to find your style.
With Mad Underwater Photography Skills, there are No Limits to what you can do…
Underwater lightroom presets:
These presets can be a great starting point for editing underwater images, but are not the magic wand advertisers often claim them to be.
A preset is a set of adjustments that work generally for a specific type of shot, such as underwater shots. However, light and water conditions are never the same, so a preset will never be perfectly adjusted.
This means that the preset will provide you with a good starting point, saving you time and providing guidance. If you are going to use a preset, choose one that was used to edit images or footage shot in similar conditions. This will ensure the best possible fit.
Bonus tip: Create your own presets by saving your adjustments. Remember to describe the conditions they were designed for to make re-use easier.
Diving Squad DEBRIEFING:
You should now be fully educated on how to take underwater photos, it’s time to grab your cameras and get shooting.
No matter what camera you are using, from an iPhone to a state-of-the-art Mirrorless camera, remember to keep an eye on ocean and light conditions, get as close to your subject as possible, account for the depth you are diving at, and set your white-balance.
On the other hand, serious underwater photographers using DSLR or Mirrorless cameras – after protecting their gear – should shoot in the RAW file format, test various off-camera lighting and underwater light filter options, and practice the basic post production correction techniques.
Follow these basic steps and you are sure to progress at a rate of knots…
Support the Squad!
Some of the links in our content are affiliate links. This means that if you buy a product, book a liveaboard, book accommodation or purchase insurance, we earn a small commission at no extra cost to you. Thanks!